☆Mount BD board
☆1 piece of A3 Sized Craftfoam
☆1 Bottle of White glue
☆A wooden pole of 1.5cm in diameter;length:preferably longer than 70cm
☆Pocket saw
☆Gold Spray
☆Silver tape
☆Paper Clay
☆Brownpaper
☆Red & White Acrylic Paint
☆Hot glue
☆7 Toothpicks
☆1 A4 Sized Vanguard Sheet
☆Masking tape
Equipment:
☆Glue Gun
☆Paintbrush
☆Pocket Saw
☆Plastic Ruler [Those flexible ones]
☆Pottery tool-Scraper
Get your templates cut out first.

This is how the Sword templates should look like after you’ve cut them out.
From Left to Right:Templates A,B,C,D respectively
Template A: x1Piece
Tempalte B: x4Piece
Template C: x4Piece
Template D: x2Piece [Cut one out of Mount BD and another out of craft foam]
*Templates A-C are cut out from Mount BD Board
 Take the 2 pieces of template D out,and hotglue them together.Paste it down with brown paper using white glue and leave it to dry.
It should look like the one shown in the picture when it’s dry.
 While waiting for template D to dry Hotglue template A down to the wooden pole. [As shown in the picture]
Then,use masking tape to tape the pole down to template A,so that it stays in place tightly.Saw down the pole if necessary.
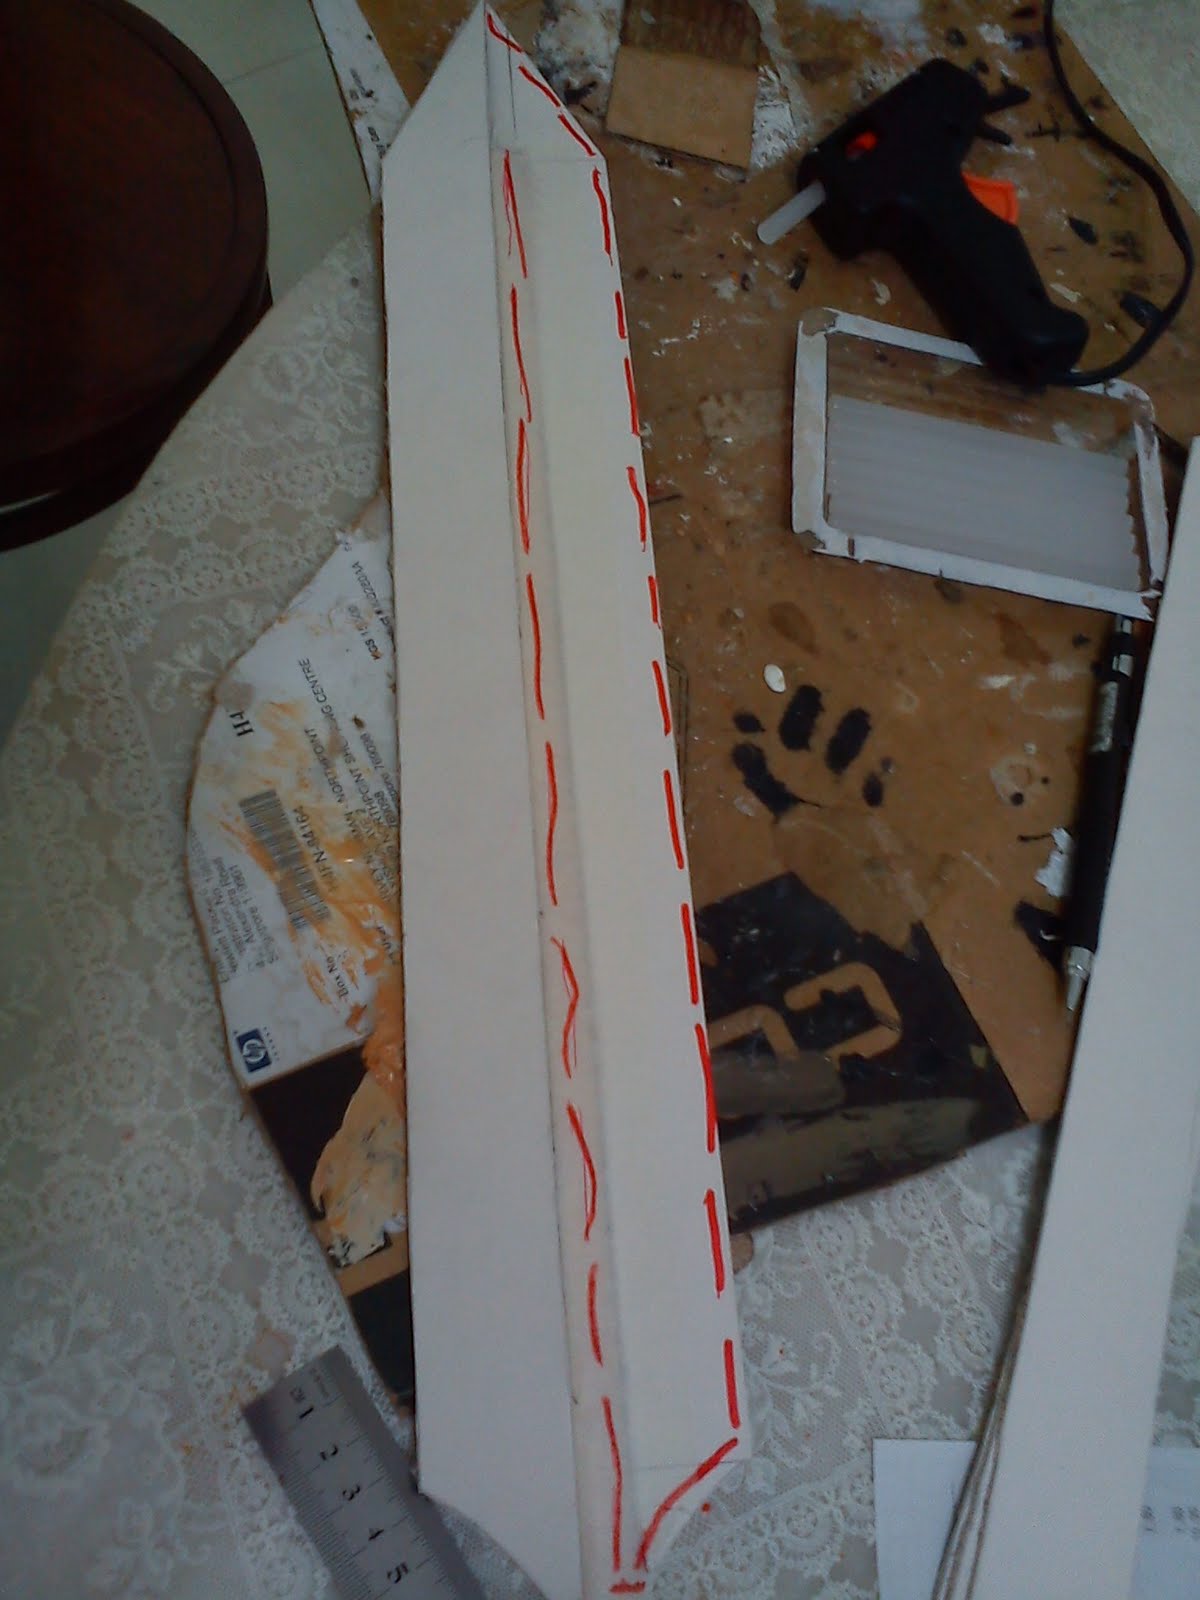 Hotglue Template C down to one side of template A .
The red line is where template C lies. [Repeat this step for the other side of the sword]
 Hotglue template B onto template A.After it is done,it should look like the one shown in the picture.[Repeat this step on the other side of the sword]
 After those steps are done,there’ll be a triangular hole,so cut a fitting piece out of Mount BD and hotglue it down to cover the hole.
By now template D should be dry so slot it into the pole.It should fit nice and tight.
Prepare the handle templates.
 Take the rectangular craft foam piece,Hotglue it onto the wooden pole.
 Using paper clay shape it around the handle and by use a scraper to cut it into a trapezium.Smooth the sides afterwards.
 Roll the vanguard sheet piece into a cone shape and mask tape it down.
Cut it down.(Cut at the red line)
Then fill up the hole in the cone with brown paper and tape it down.
 Take the circle-shaped craft foam and poke it through the cone.Hotglue the top and bottom of it after pulling it upwards to let it stay in shape.
Hotglue the cone onto the wooden pole.
 Hotglue the other rectangular craft foam onto the pole.
Then using the exact method used above you will get something similar to the one shown in the picture.Trim the pointy edges off.
 Take the 7 toothpicks and poke it through the lower and upper circles.
See the sharp points poking out? Cut off those and hotglue the toothpicks down.
By now the sword should look like this:

 Shape the balls out of paper clay. Slot it into the hole of the hilt to see if it fits.If it does,take it out and let it dry.Once dry,use red acrylic paint to get them red.
Paste brown paper to cover the whole handle:
 Leave it to dry.
After it is dry,paint a few layers of white acrylic paint onto the hilt and handle.
Spray handle with gold spray and leave it to dry.
Once it is dry,use silver tape and get the blade covered with it.Use a flexible plastic ruler to help with the pasting.
Hotglue the paper clay balls down to the holes of the hilt.
AND YOU’RE DONE! YAY!

No comments:
Post a Comment